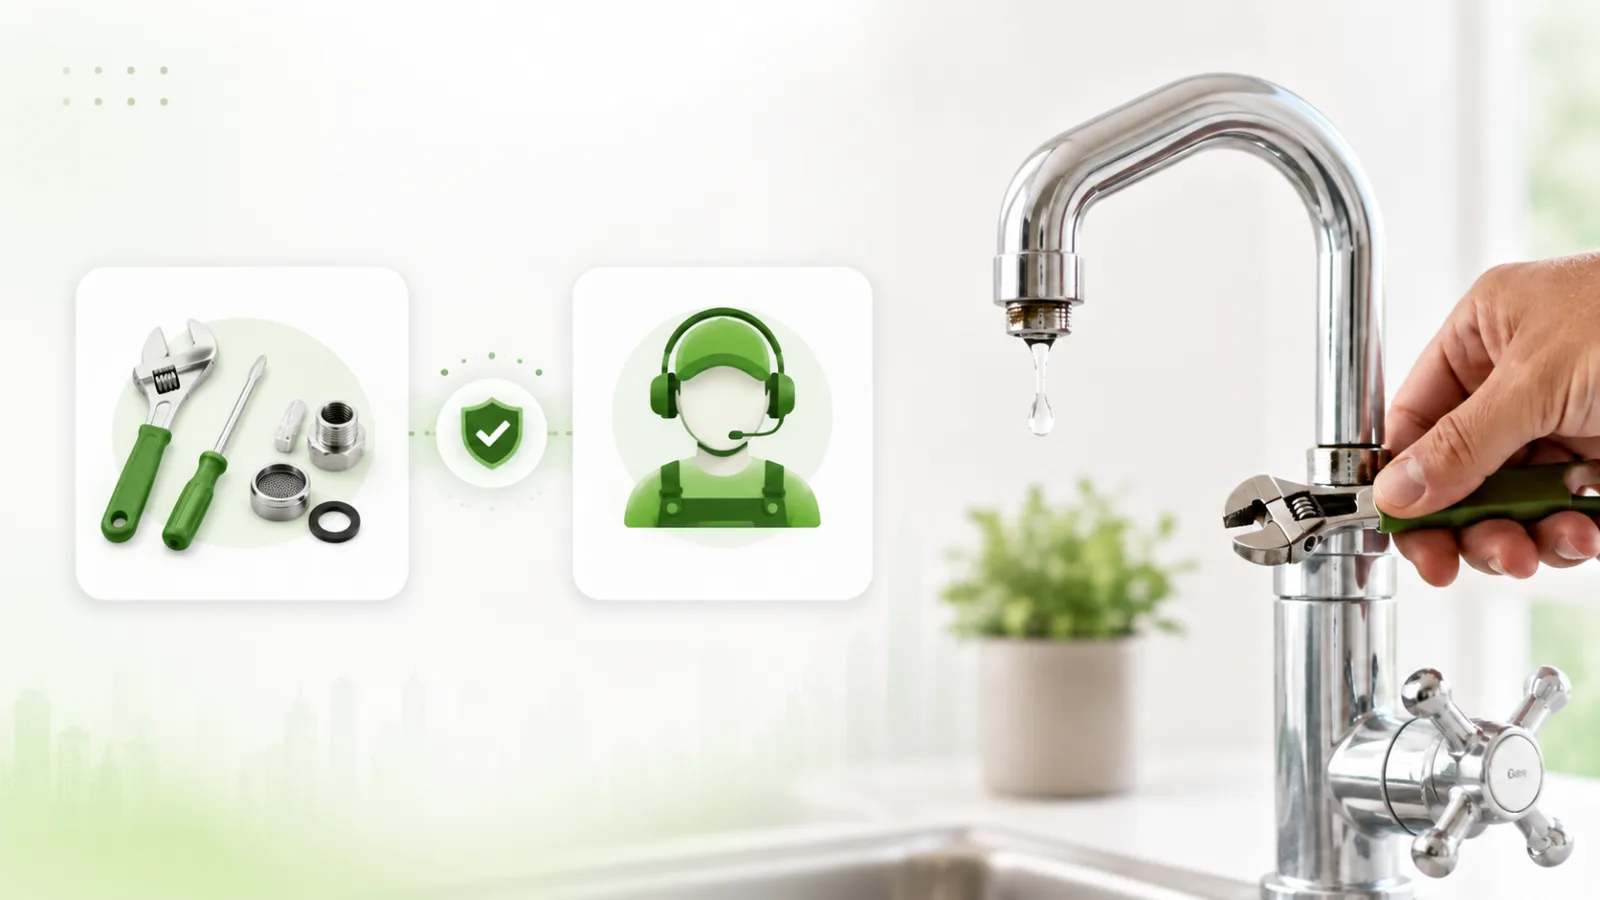
A faucet dripping once a second wastes more than 3,000 gallons a year. On a metered supply that is real money, and if it is the hot tap you are also paying to heat water that goes straight down the drain. The good news is that the cause is almost never the plumbing behind the wall — it is a worn part inside the faucet itself, and that part usually costs a few dollars.
First, find out what kind of faucet you have
Everything else follows from this, and you can tell by feel.
- Cartridge — a single handle that moves smoothly, or two handles that turn only a quarter to a half turn and never feel gritty. By far the most common in anything built or renovated in the last thirty years.
- Compression — two handles that keep turning and tighten harder the further you go. Older homes. These use a rubber washer, and a dripping compression tap is almost always that washer.
- Ball — a single handle sitting on a rounded dome body, common on older kitchen faucets. More parts inside than the others.
- Ceramic disc — a single lever over a wide cylindrical body. Long-lived; when they do drip it is usually the seals.
If you can find the brand on the faucet, search the model with the word "cartridge" — most manufacturers publish exactly which part number fits.
Fixing it
The whole job is about thirty minutes, and most of it is disassembly.
- Shut off the water at the valves under the sink. Turn them clockwise, gently. Then open the tap to drain the line and release pressure.
- Plug the drain. Every one of these parts is small and every sink is a hole. Put a cloth in it.
- Take the handle off. There is usually a decorative cap hiding a screw — lever it off with a small flathead. Some are a hex screw at the base instead.
- Remove the retaining nut or clip, then pull the cartridge or stem straight up. Photograph it before and during. Orientation matters on reassembly, and a cartridge fitted 180 degrees out gives you hot on the cold side.
- Take the old part to the store, or match the part number. Guessing from a photograph on a shelf rarely works — there are dozens of near-identical cartridges.
- Clean the seat while you are in there. Mineral scale on the seat will chew through a brand new washer within months, which is the usual reason a repair "did not work".
- Reassemble, then open the shut-off valves slowly and run the tap for a minute. Check underneath with a dry hand.
The three cases where this is not a DIY job
Be honest with yourself about these, because all three turn a cheap fix into an expensive one.
The shut-off valve under the sink will not turn. This is common in older houses and it means you cannot isolate the tap. Forcing a seized valve is how a drip becomes a flood, and at that point the water has to come off at the main.
The fixing nut under the sink is corroded solid. You are working upside down, in the dark, in a confined cupboard, on a nut that will round off. Plumbers have a basin wrench for exactly this and it is still not a pleasant job.
The faucet body itself is corroded, or parts are no longer made for it. Then you are replacing the faucet rather than repairing it, and the labor is largely the same either way.
Rather not spend the afternoon under the sink? Faucet repair typically runs $110–$300, and most are done inside an hour, including the parts. See whether a plumber near you lists it, or leave your email to hear the day one does: faucet repair near you →
Do not put it off
A drip is not a stable state. The same wear that lets water past also lets it work on the seat, and a tap that is left will usually end up needing the whole cartridge assembly rather than a washer. It is one of the few home repairs that genuinely gets cheaper the sooner you deal with it.
On Task Masters, every plumber publishes their own price before you book, so you can compare prices without making a single phone call.